
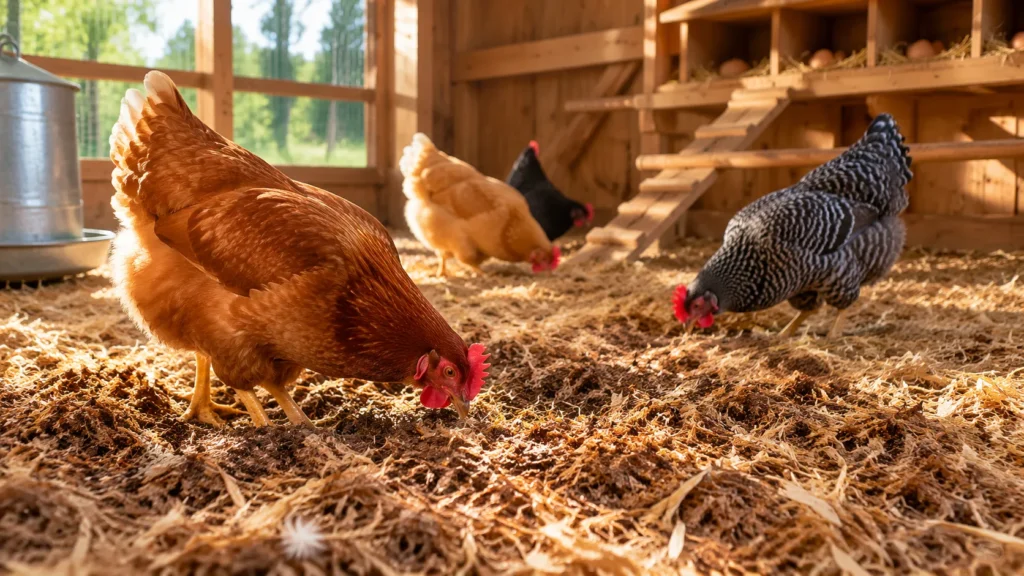
The deep litter method for chickens uses a managed layer of bedding and manure that breaks down in the coop over time, creating warmth, reducing daily cleaning, and supporting composting. When done correctly, it can work well in dry, well-ventilated coops with enough bedding depth and regular turning.
This guide explains how the deep litter method works, how to set it up, when to use it, and how to avoid odor, moisture, and pest problems. It is written for backyard chicken keepers who want a practical, beginner-friendly approach that keeps hens healthier and coop chores simpler.
What Makes the Deep Litter Method Work for Chickens?
The deep litter method works because bedding, droppings, and airflow are managed together instead of removed every day. As the lower layers begin to compost, the pile generates a little heat and becomes more stable when carbon-rich bedding is added often enough.
The key is balance. You need enough dry bedding to absorb moisture, enough air movement to prevent ammonia buildup, and enough regular stirring to keep the material from matting into a wet cake.
It is not a “set it and forget it” system. The best results come from small, frequent additions of dry bedding and light turning before the litter gets compacted.
The most useful expert tip is this: if the coop ever smells sharp like ammonia, the litter is already too wet or too dense, even if it looks fine on top.
Deep Litter Method Chickens: The Core Setup
Start with a clean, dry coop floor and a bedding base that can absorb moisture well. Pine shavings are the most common choice, though chopped straw, dry leaves, or a blend can also work if they stay fluffy.
| Item | Amount/Spec | Why it matters |
|---|---|---|
| Base bedding | 4 to 6 inches to start | Creates enough depth to absorb droppings and begin composting without becoming soggy too quickly. |
| Top-up bedding | 1 to 2 inches added as needed | Keeps the litter dry, fluffy, and carbon-rich so manure breaks down instead of smelling. |
| Floor space | Enough room to avoid crowding | Less crowding means less moisture, fewer odors, and less compaction under roosts. |
| Ventilation | Continuous high airflow without drafts on roosts | Removes moisture and ammonia before they build up in the bedding. |
| Stirring tool | Small rake or garden fork | Helps keep the top layer aerated and prevents wet spots from matting. |
| Dry cover material | Pine shavings, chopped straw, dry leaves | Carbon-rich material absorbs manure and supports the composting process. |
Place extra bedding directly under roosts and in any area that gets heavy traffic. If your coop has poor ventilation or a dirt floor that stays damp, deep litter is usually a poor fit.
Step-by-Step: How to Run Deep Litter Method Chickens Successfully
Step 1: Start with a dry coop floor. Remove old bedding, scrape away stuck manure, and let the floor dry completely before adding fresh material. Deep litter works best when it begins dry, not when it is trying to rescue a damp coop.
Step 2: Add a deep carbon base. Spread 4 to 6 inches of pine shavings, chopped straw, or a similar absorbent bedding. The bottom layer should look loose and fluffy, not packed down.
Step 3: Keep the coop ventilated. Open high vents and windows or use roofline ventilation to let moisture escape. The University of Minnesota Extension notes that good ventilation is essential in animal housing because it helps control moisture and gases, which is exactly why deep litter fails in stale coops.
Step 4: Stir the litter regularly. Every few days, rake the top layer lightly to mix droppings into the bedding. This keeps oxygen moving through the litter and slows the formation of wet mats.
Step 5: Add fresh bedding before it smells. Top up with 1 to 2 inches whenever the litter looks thin, dark, or damp. Do not wait for odor; by then, moisture has usually already spread deeper into the bedding.
Step 6: Watch the moisture level closely. The litter should feel dry, springy, and crumbly. If you see caking under waterers or beneath roosts, remove the wet patch and replace it immediately.
Step 7: Deep clean on a seasonal schedule. Even a good system should be fully cleaned out at least once or twice a year, depending on flock size and climate. The CDC backyard chickens guidance also reinforces the importance of handwashing and sanitation after coop work.
Is the Deep Litter Method Safe for Chickens?
Yes, the deep litter method is safe for chickens when the coop stays dry, ventilated, and roomy enough for the flock. It becomes unsafe when it is allowed to trap moisture, generate ammonia, or collect manure faster than the bedding can absorb it.
For most backyard keepers, safety comes down to three habits: control moisture, prevent compaction, and clean wet spots quickly. If you can do those three things, the system is usually healthier than frequent bare-floor cleaning that leaves the coop dusty or cold.
| Option | Best for | What to expect |
|---|---|---|
| Deep litter | Dry coops with good airflow | Less daily cleaning, gradual composting, and better winter insulation. |
| Pine shavings only | Keepers who want simpler spot-cleaning | Easy to manage, but it needs full replacement more often. |
| Sand flooring | Very dry climates and small coops | Simple to rake, but it does not compost and can be heavy to manage. |
| Straw on a bare floor | Temporary or low-cost setups | Cheap at first, but it mats quickly and can hold moisture if not watched carefully. |
Customization for Different Coops and Climates
For a small coop: Use a thinner flock size and lighter bedding depth, because a crowded coop will overload the system fast. In a compact space, extra ventilation and frequent stirring matter more than the type of bedding you choose.
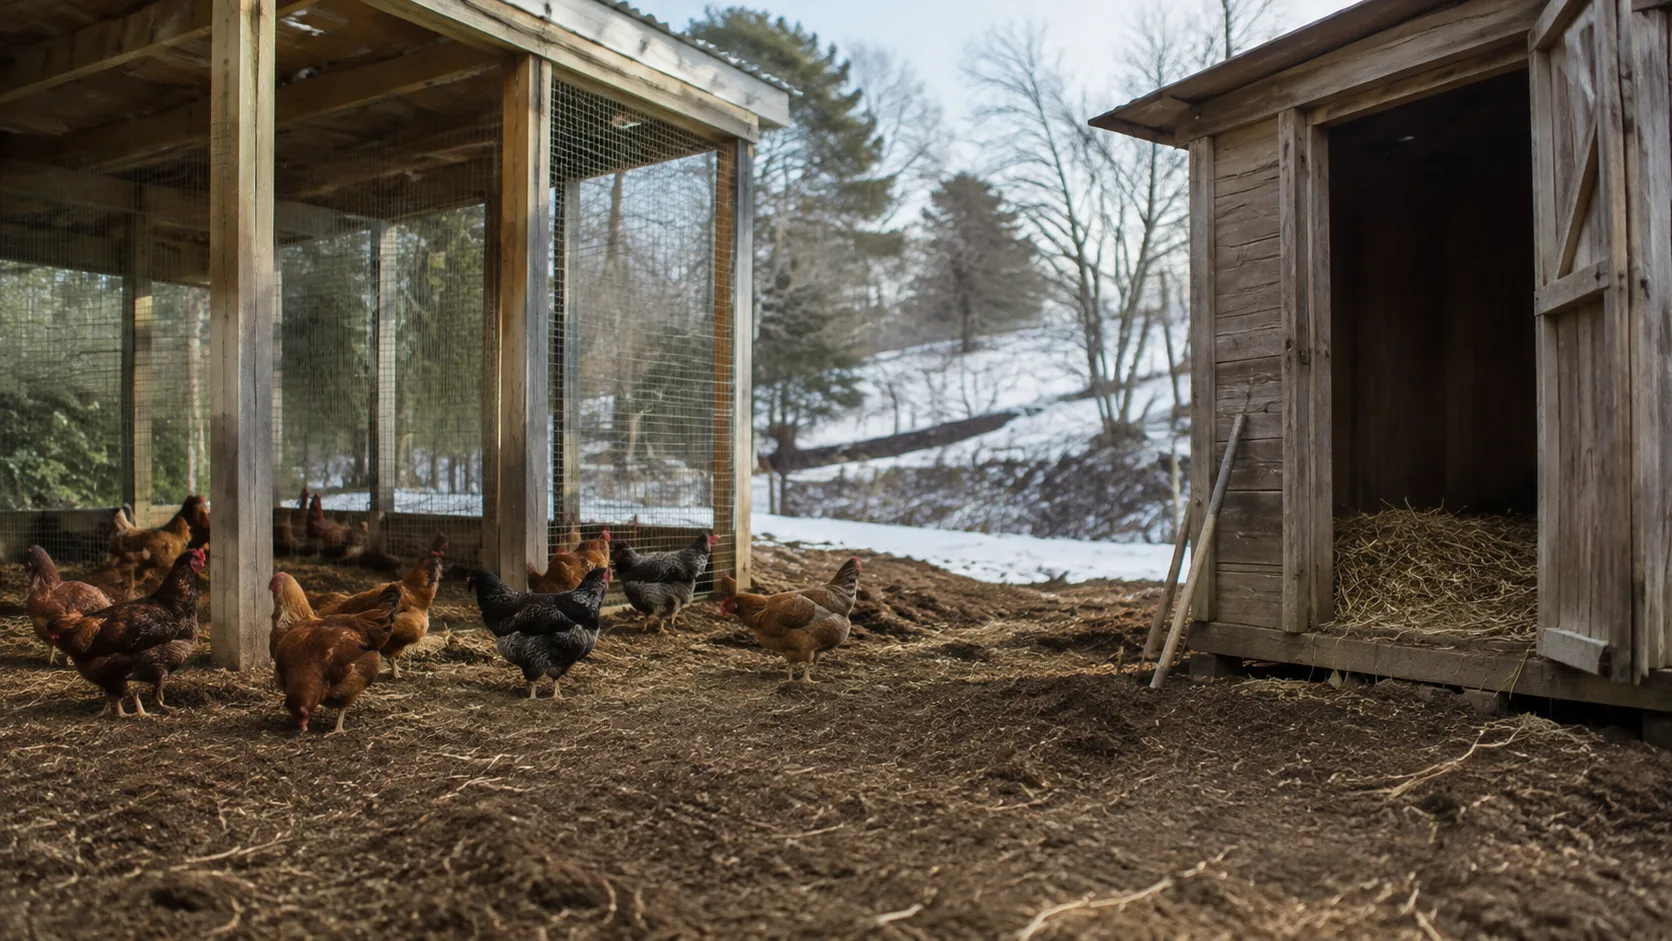
For a cold winter setup: Let the litter build gradually through the season so it adds insulation and gentle warmth. Avoid pulling out the bedding too often in freezing weather unless it is wet or smells strongly of ammonia.
For a wet or humid climate: Deep litter can still work, but only with excellent airflow and a raised, dry floor. Choose highly absorbent bedding and add fresh material sooner than you would in a dry region.
For a free-range flock: Since birds spend more time outdoors, litter often stays cleaner longer and can be refreshed less often. That said, the coop still needs enough bedding under roosts and in nest areas to catch concentrated droppings.
For a mixed-age flock: Younger birds and larger adults create different moisture patterns, so watch the coop more closely for damp patches. If chicks or pullets are housed separately, keep their litter management simpler and more frequently replaced.
Best Companion Habits for a Cleaner Coop
Deep litter works best when paired with smart coop planning. A properly sized coop, dry bedding, and the right nest box setup reduce pressure on the litter and keep the whole system easier to manage.
If you are still planning a new coop, review how big a chicken coop should be so your flock has enough space for airflow and clean footing. You may also want to look at chicken nesting boxes so egg areas stay cleaner and do not overload the bedding with extra mess.
Common Deep Litter Method Chickens Problems and How to Fix Them
| Problem | Likely cause | Easy fix |
|---|---|---|
| Ammonia smell | Too much moisture or not enough fresh bedding | Add dry bedding immediately and improve ventilation. |
| Wet, sticky floor | Leaking waterer or poor drainage | Move the waterer, repair leaks, and remove the soaked patch. |
| Matted litter | Not stirring often enough | Rake the top layer more frequently to keep it fluffy. |
| Flies around the coop | Manure sitting exposed on damp bedding | Cover droppings with fresh carbon bedding and remove wet clumps. |
| Dusty air | Overdry bedding or excessive stirring | Use less brittle bedding and avoid overworking the litter. |
| Pests in bedding | Leftover feed, spilled scratch, or neglected cleanup | Store feed securely and remove anything that attracts rodents. |
When a deep litter system fails, the fix is usually simple: remove the wettest material, restore dry bedding, and improve airflow. The longer you wait, the more likely the problem becomes a full coop cleanout instead of a small correction.
Maintenance and Long-Term Care for Deep Litter
Deep litter is a maintenance method, not a permanent floor covering. Over time, the bedding settles and changes from fluffy material into finished compost, so the coop still needs periodic full cleaning and inspection.
The U.S. EPA composting guidance is a useful reference for understanding why carbon, moisture, and air balance matter in decomposition. Those same principles apply in a chicken coop, except your goal is safe bedding management rather than finished garden compost inside the pen.
Plan to remove and replace the litter when it gets too heavy, too dark, or hard to aerate. If you compost the used bedding, let it finish curing before using it around food crops, and keep it separate from fresh coop bedding.
Frequently Asked Questions
How deep should deep litter be for chickens?
Start with 4 to 6 inches of bedding, then add more as it breaks down. In colder months or larger coops, many keepers build it deeper over time. The goal is a dry, fluffy base that can keep absorbing droppings without turning into a wet mat.
What bedding is best for the deep litter method?
Pine shavings are often the easiest and most reliable choice because they absorb well and stay fairly fluffy. Chopped straw and dry leaves can work too if they are dry and not packed tightly. Avoid bedding that gets slimy or mat-prone quickly.
How often do you turn deep litter?
Lightly stir the top layer every few days or at least once a week. More frequent stirring may be needed in wet weather or if your flock spends a lot of time in the coop. You are trying to keep air moving, not dig down to the floor every time.
Does deep litter smell?
A healthy deep litter coop should not smell strongly. You might notice a mild earthy scent, but sharp ammonia or sour odors mean the bedding is too wet or compacted. Smell is one of the fastest ways to tell whether the system is working.
Can deep litter work in winter?
Yes, and many keepers like it specifically for winter because it adds insulation and can feel warmer underfoot. Just make sure snow, rain, or frozen waterers are not adding excess moisture. Winter ventilation still matters, even when the weather is cold.
How often should I fully clean out deep litter?
Most coops need a full cleanout once or twice a year, though some need it more often depending on flock size and weather. If the litter becomes compacted, wet, or hard to manage, clean it out sooner. A schedule is useful, but the coop’s condition should make the final call.
A Cleaner Coop Starts with the Right Rhythm
The deep litter method for chickens works when you treat bedding like a living system instead of trash to be removed every day. Keep it dry, airy, and topped up, and it can save time while supporting a healthier coop environment.
If you want more practical chicken-keeping guidance like this, explore Cedar & Cluck at https://cedarandcluck.com/. It is a solid next stop for clear, tested advice on coop care, feeding, and flock management.
