
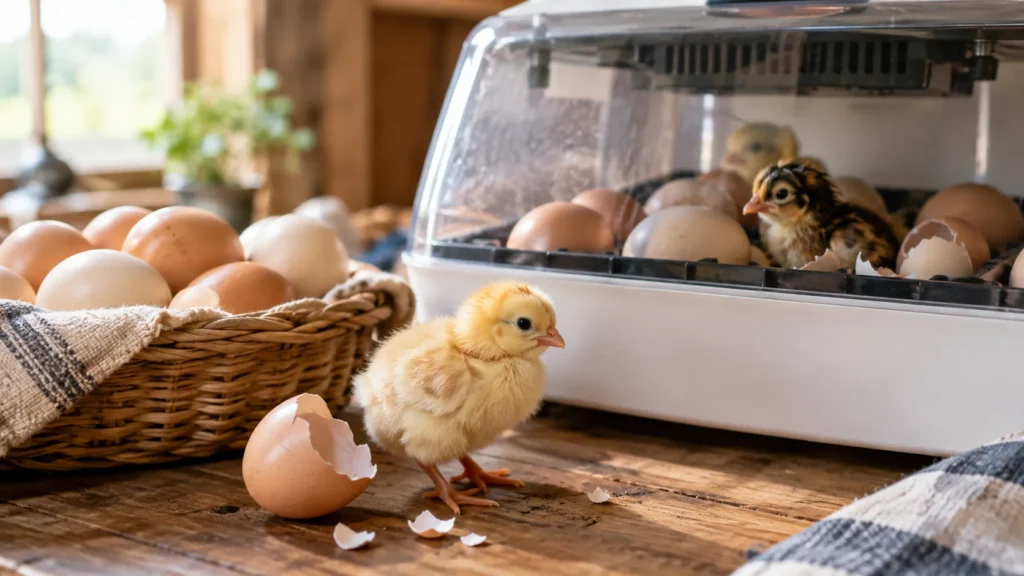
To hatch chicken eggs, you need fertile eggs, a clean incubator held near 99.5°F in a forced-air model, steady humidity, regular turning for the first 18 days, and a quiet lockdown period until hatch around day 21. The basic process is simple, but small mistakes with temperature, humidity, egg handling, or timing can sharply reduce your hatch rate.
This guide walks you through how to hatch chicken eggs at home using a practical, beginner-friendly plan. It is written for backyard keepers using a small incubator, as well as anyone deciding whether to use a broody hen or hatch shipped eggs.
What Makes Chicken Eggs Hatch Successfully?
A chicken egg hatches when a living embryo develops in a fertile egg under the right conditions for about 21 days. The embryo needs warmth, oxygen exchange through the shell, moisture control, and regular repositioning so it does not stick to the inner membrane.
Temperature is the most important factor because embryo development speeds up, slows down, or fails when the egg is too warm or too cool for too long. Humidity matters because the egg must lose the right amount of water before hatch, leaving an air cell large enough for the chick to breathe before it breaks the shell.
The non-obvious expert tip is to manage the egg, not just the incubator display. Use a calibrated thermometer and track air cell growth during candling, because many built-in incubator sensors read slightly high or low once eggs are inside.
How to Hatch Chicken Eggs: The Core Setup Checklist
Before you start, gather your supplies and set up the incubator for at least 24 hours without eggs. A stable incubator is much easier to manage than one you are trying to adjust after fertile eggs are already warming.
| Item | Amount/Spec | Why it matters |
|---|---|---|
| Fertile chicken eggs | Clean, normal-shaped eggs less than 7 days old when possible | Fresh, fertile, undamaged eggs give embryos the best chance to develop normally. |
| Incubator | Forced-air preferred; steady near 99.5°F | Stable heat keeps embryo development on schedule and lowers early losses. |
| Calibrated thermometer | Separate from the incubator display | Many poor hatches trace back to inaccurate built-in temperature readings. |
| Hygrometer | Checked or calibrated before use | Humidity controls egg weight loss and air cell size before hatch. |
| Water channels or humidity pads | Use incubator design as directed | Surface area, not water depth, controls humidity in most incubators. |
| Egg turner or manual schedule | Turn at least 3 times daily until day 18 | Turning helps prevent the embryo from sticking and supports normal development. |
| Candling light | Bright LED made for eggs or a small focused flashlight | Candling lets you remove clear or dead eggs and monitor air cell growth. |
| Brooder setup | Warm, draft-free, ready before hatch day | Chicks need food, water, bedding, and safe heat once they are dry and active. |
For most backyard hatches, aim for about 45% to 50% relative humidity during incubation, then raise it to about 65% to 70% at lockdown. These are starting points, not magic numbers, so adjust based on air cell development and your incubator’s behavior.
How to Hatch Chicken Eggs Step by Step
Choose the right eggs: Select eggs that are clean, medium to large for the breed, and free from cracks, ridges, or odd shapes. Do not wash hatching eggs unless absolutely necessary, because scrubbing can damage the bloom that helps protect the egg from bacteria.
Store eggs correctly before setting: If you are collecting eggs over several days, store them around 55°F to 65°F with the pointed end down. Tilt or turn stored eggs once or twice daily, and try to set them within a week for best results.
Stabilize the incubator: Run the incubator empty for at least 24 hours in the same room where it will stay for the whole hatch. The University of Florida IFAS Extension notes that correct incubation temperature, humidity, ventilation, and turning are all critical for hatchability, so do not skip the test run.
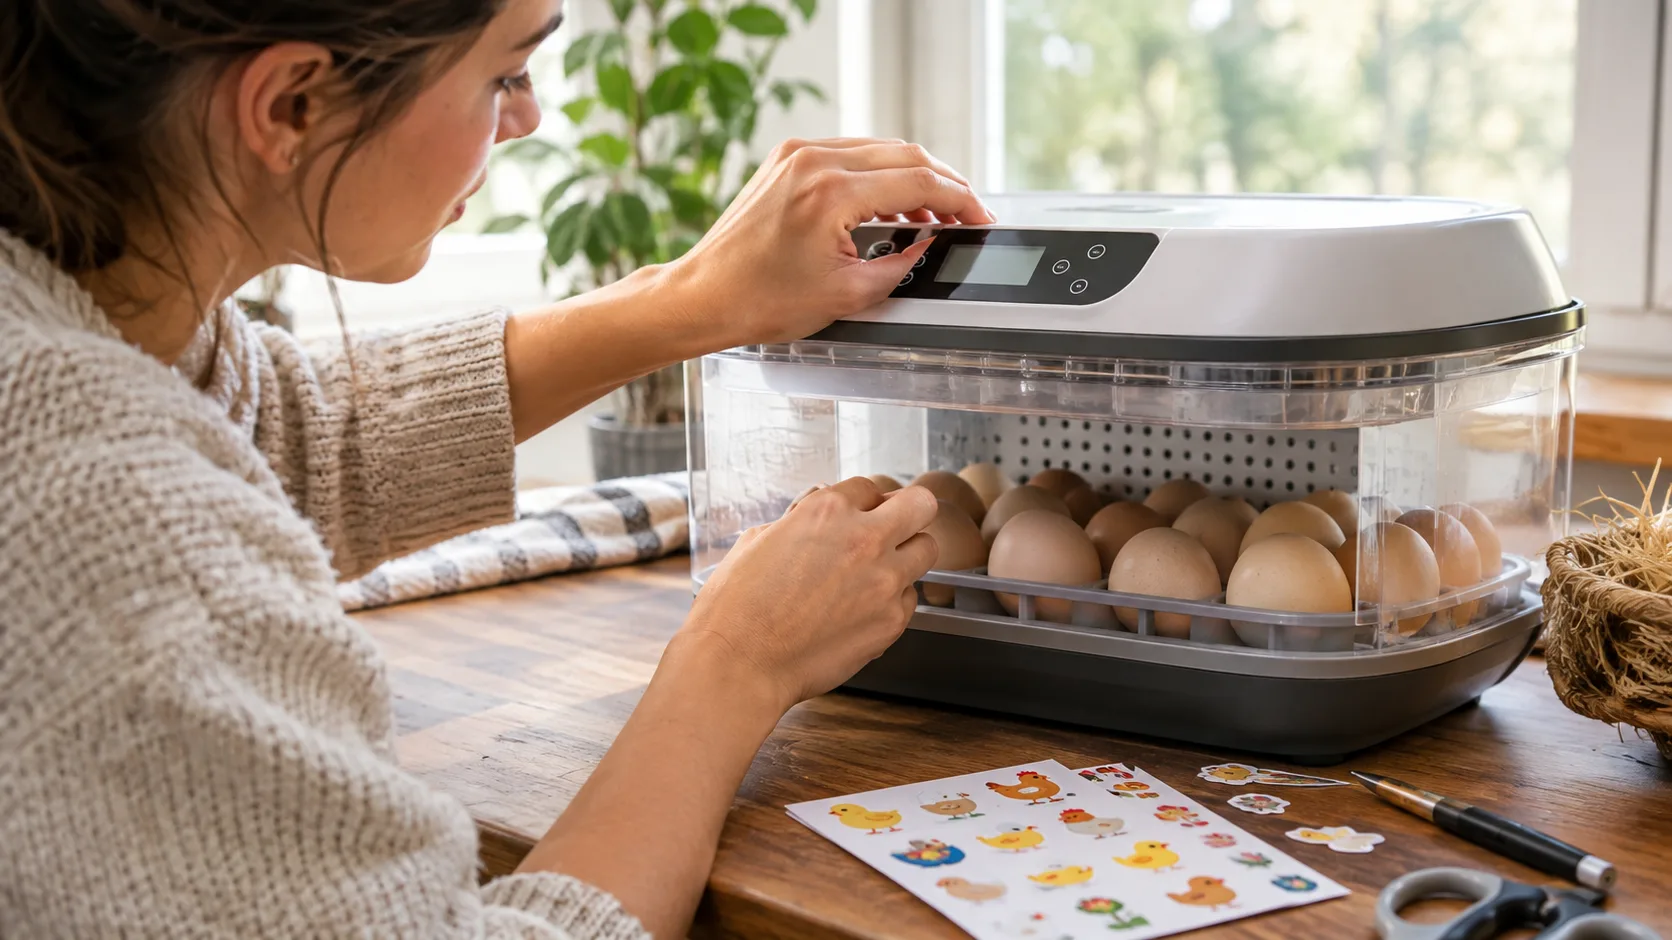
Set the eggs: Place eggs in the incubator with the large end slightly higher than the pointed end, especially if using an automatic turner. Mark eggs with an X and O if turning by hand so you can confirm each egg was moved.
Turn through day 18: Turn eggs at least three times per day, and always use an odd number of turns if possible so the eggs do not rest on the same side every night. Wash your hands before handling eggs, and avoid leaving the incubator open longer than necessary.
Candle at key points: Candle around day 7 to check for veins and again around day 14 to confirm ongoing development. Remove eggs that are clearly infertile, leaking, cracked, or showing a blood ring, but leave questionable eggs until a later check unless they smell bad.
Start lockdown on day 18: Stop turning, remove automatic turner rails if needed, lay eggs on their sides or in hatching trays, and raise humidity. Do not open the incubator repeatedly after this point because sudden humidity drops can dry membranes around pipping chicks.
Let chicks finish hatching: Most chicks hatch between days 20 and 22, though timing can vary with temperature and egg age. Leave newly hatched chicks in the incubator until they are dry and steady, usually up to 24 hours, before moving them to the brooder.
What is the best way to hatch chicken eggs?
The best way to hatch chicken eggs for most beginners is with a reliable forced-air incubator, because it gives you the most control over temperature, humidity, and turning. A broody hen can also do an excellent job, but only if she is truly committed, healthy, and sitting in a safe nest where other hens cannot keep adding eggs.
The right method depends on your flock, equipment, and how closely you want to manage the process. If this is your first hatch, a small incubator with a separate thermometer and hygrometer is usually the easiest way to learn what is happening day by day.
| Option | Best for | What to expect |
|---|---|---|
| Forced-air incubator | Beginners who want control and visibility | Most consistent temperatures, good hatch tracking, and easier troubleshooting. |
| Still-air incubator | Careful keepers with a simple setup | Requires more attention to thermometer placement and hot or cool spots. |
| Broody hen | Keepers with a proven sitting hen | Natural turning and warmth, but less control and more risk from nest disruption. |
| Shipped eggs | Adding genetics not available locally | Lower hatch rates are common because shipping can damage air cells and embryos. |
How to Customize Your Hatch
For a small backyard hatch: Set fewer eggs than your incubator can technically hold so air circulates well and you have room for chicks to hatch safely. A dozen eggs is often enough for a first attempt, especially when you consider that roughly half of the chicks may be cockerels.
For shipped eggs: Let eggs rest pointed-end down for 12 to 24 hours after arrival before setting them. Candle before incubation to check for detached or saddle-shaped air cells, and consider keeping them upright during early incubation if air cells look unstable.
For a broody hen hatch: Move the hen to a quiet, predator-safe area before giving her valuable eggs. Mark the hatching eggs with pencil and remove any new eggs laid by other hens so the clutch develops on the same timeline.
For hot or dry climates: Watch humidity and egg weight loss more closely because incubators may dry out faster. Adding water more often may help, but increasing water surface area is what usually raises humidity most effectively.
For classroom or family hatching: Plan the hatch around weekends and supervision so chicks are not left unattended during the first critical hours after hatch. Teach children that eggs should not be shaken, rotated aggressively, or opened to “help” a chick unless there is a clear, well-understood reason.
Practical Companion Advice Before and After Hatch Day
Hatching eggs is only the first half of the project; you also need a safe chick setup ready before the first pip. If you are new to baby chick care, Cedar & Cluck’s guide to what to feed newborn chickens during the first week will help you avoid common feeding mistakes once chicks leave the incubator.
You should also think ahead to when your chicks will outgrow the brooder. The transition is smoother if you understand temperature, feathering, and predator protection, so review when chicks can safely go outside before your brooder gets crowded.
Finally, make sure you have a plan for extra roosters, weak chicks, and the space your growing birds will need. A successful hatch can quickly become stressful if you hatch more birds than your coop, budget, or local rules can support.
Common Chicken Egg Hatching Problems and How to Fix Them
| Problem | Likely cause | Easy fix |
|---|---|---|
| No development at day 7 | Infertile eggs, old eggs, or eggs stored too warm or too cold | Confirm rooster access, use fresher eggs, and improve pre-incubation storage. |
| Many embryos die early | Temperature swings, rough handling, or poor breeder nutrition | Calibrate equipment, handle eggs gently, and use eggs from healthy breeding birds. |
| Chicks develop but do not hatch | Incorrect humidity, poor ventilation, or weak embryos | Track air cells, avoid overfilling water channels, and ensure incubator vents are open. |
| Sticky chicks | Humidity too low during hatch or incubator opened too often | Raise lockdown humidity and keep the lid closed while chicks are pipping and zipping. |
| Wet chicks or late hatch | Humidity too high during incubation or temperature slightly low | Reduce early humidity next hatch and verify temperature with a calibrated thermometer. |
| Bad smell in incubator | Rotten or contaminated egg | Remove the egg carefully, clean any residue, and wash hands before touching other eggs. |
| Chicks hatch weak or with leg issues | Slippery hatch surface, genetics, nutrition, or incubation errors | Use a grippy liner, check breeder flock health, and review temperature and humidity records. |
When a hatch goes poorly, do not guess from memory. Keep a simple log of egg source, set date, temperature, humidity, candling notes, lockdown date, and hatch results so your next attempt is based on evidence instead of frustration.
Incubator Maintenance and Egg Safety
Clean and disinfect the incubator after every hatch, even if everything looked normal. Chick down, shell bits, dried fluids, and warm humidity create ideal conditions for bacteria, so remove debris first, then clean according to the manufacturer’s instructions.
Do not mix eating eggs and hatching eggs carelessly. The USDA Food Safety and Inspection Service egg safety guidance explains that eggs are perishable foods and should be handled with attention to cleanliness and temperature if they are intended for eating.
Store the incubator dry, open, and protected from dust between hatches. Before each new hatch, inspect cords, fans, trays, turners, water channels, and sensors, then run a full test cycle long enough to prove the unit holds steady conditions.
Frequently Asked Questions
How long does it take to hatch chicken eggs?
Chicken eggs usually hatch in about 21 days. Some chicks may hatch a day early or late depending on incubator temperature, egg age, breed, and individual development.
Can grocery store eggs hatch?
Most grocery store eggs will not hatch because they are usually not fertile and have been refrigerated. Even if an egg were fertile, cold storage and handling make successful development unlikely.
Do you need a rooster to hatch chicken eggs?
Yes, eggs must be fertilized to hatch, which means a hen must have had access to a fertile rooster or the eggs must come from a breeder with roosters. Hens can lay edible eggs without a rooster, but those eggs will not develop into chicks.
How often should you turn chicken eggs in an incubator?
Turn chicken eggs at least three times per day from day 1 through day 18. Automatic turners make this easier, but hand turning works well if you are consistent and gentle.
When should I stop turning chicken eggs?
Stop turning chicken eggs at the start of lockdown, usually day 18. At this point, the chick is positioning itself to pip into the air cell and then break through the shell.
Should I help a chick hatch?
Usually, you should not help a chick hatch because intervening too early can cause bleeding or injury. Consider assistance only if a chick has been externally pipped for many hours with no progress, membranes are clearly drying, and you understand the risks.
Your First Hatch Starts With Steady Basics
The secret to hatching chicken eggs is not complicated equipment; it is steady conditions, clean handling, patient observation, and a brooder ready before hatch day. If you control temperature, manage humidity, turn on schedule, and resist opening the incubator during lockdown, you are already doing the most important things right.
Use your first hatch as a learning project, keep notes, and improve one variable at a time. For more practical chicken-keeping guides from real backyard experience, visit Cedar & Cluck.
