
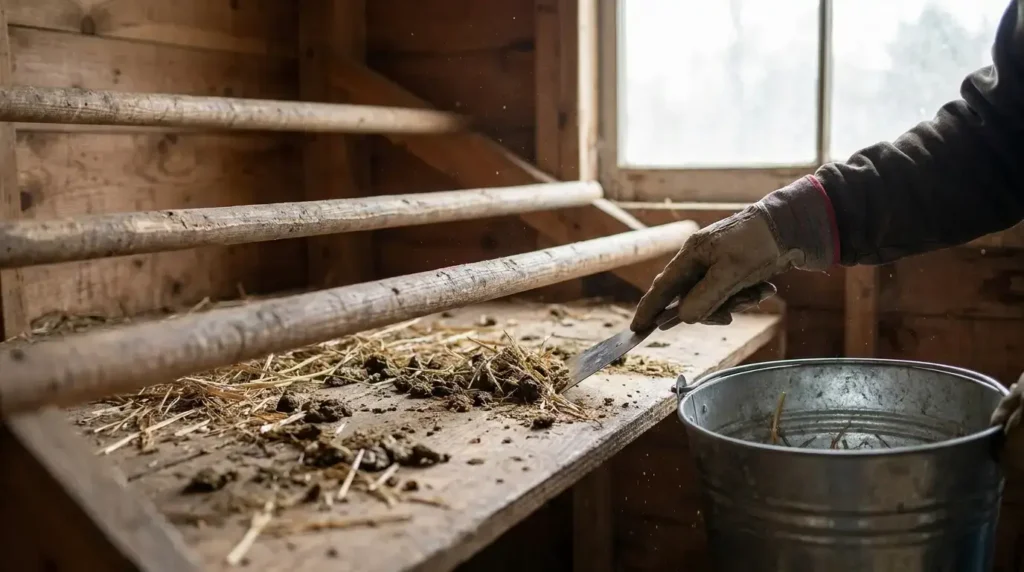
A clean coop is the single biggest thing standing between your flock and problems like mites, respiratory illness, and that sharp ammonia smell. The good news: with a simple routine, it takes only a few minutes most days and a proper clean-out just a few times a year. Here’s exactly how to clean a chicken coop, how often, and the easy habits that keep it from ever getting bad.
The quick answer
A realistic coop-cleaning schedule looks like this:
- Daily (2 minutes): scrape the droppings board and scoop any wet bedding.
- Weekly (15 minutes): refresh bedding, clean feeders and waterers, level the litter.
- Monthly: replace nesting-box bedding, sweep dust and cobwebs, scrub the roosts.
- 2–4 times a year: a full deep clean — strip everything, scrub, disinfect, dry, re-bed.
Keep up the small daily and weekly habits and the big deep clean stays quick and rare. Skip them, and that twice-a-year job becomes a miserable one.
How often should you clean a chicken coop?
It depends on your flock size, coop size, and bedding method, but the rhythm above works for most backyard setups. A few things that shift the frequency:
- Climate. Humid or rainy areas need more frequent cleaning — moisture drives both odor and disease. Dry, cold climates can stretch a bit longer, but ventilation still matters.
- Flock density. More birds in less space means more frequent cleaning.
- Bedding method. The deep litter method (below) needs full clean-outs far less often.
The real goal isn’t a spotless coop — it’s a dry, low-ammonia one. If you ever catch a sharp ammonia smell at nose height, that’s your signal to clean now, regardless of the schedule.
How to deep clean a chicken coop: step by step
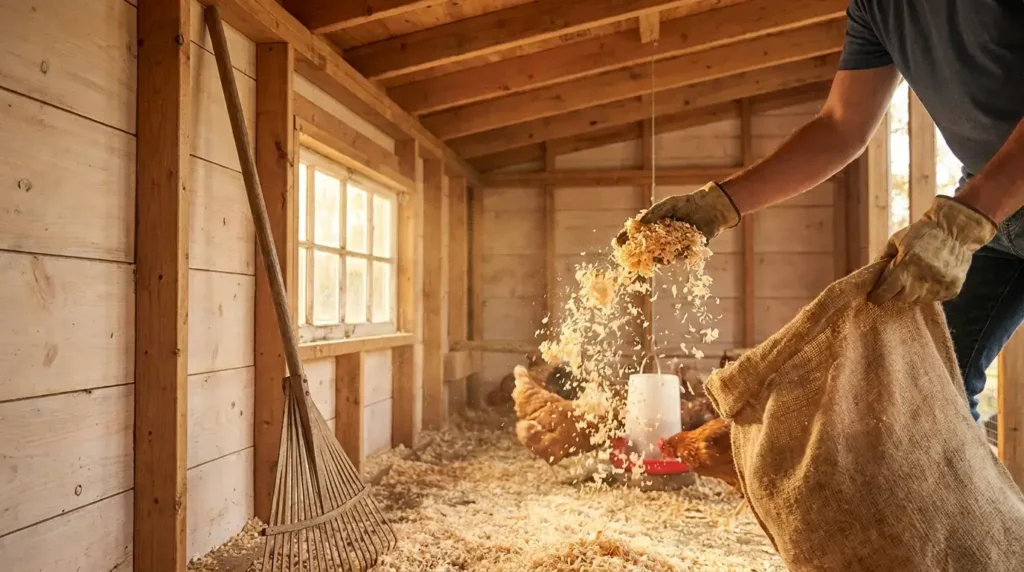
Do this 2–4 times a year, ideally on a dry, sunny day so everything dries fast.
1. Move the flock out. Relocate your chickens to the run, a temporary pen, or let them free-range supervised while you work.
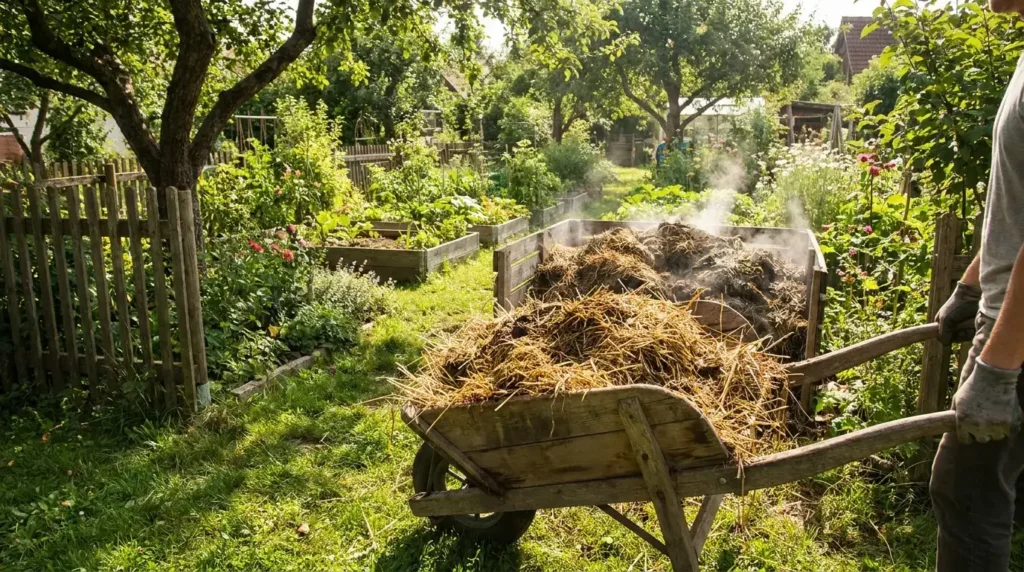
2. Remove everything. Take out feeders, waterers, and any removable roosts or nest boxes, and strip out all the old bedding with a rake and shovel into a wheelbarrow. (That used bedding is gold for the compost pile.)
3. Dry-clean first. Scrape caked-on droppings from roosts and corners with a hoe or putty knife, then sweep down dust and cobwebs. Getting the loose mess out before water makes the wet step far easier.
4. Scrub the surfaces. Wash floors, walls, roosts, and nest boxes with warm soapy water or a vinegar solution and a stiff brush. Give corners and perches extra attention — that’s where grime hides.
5. Disinfect — the safe way. Spray surfaces with a poultry-safe disinfectant or a simple equal-parts white vinegar and water mix, let it sit, then rinse. Never use bleach — chickens have very sensitive respiratory systems, and bleach fumes can genuinely harm them.
6. Let it dry completely. This step is non-negotiable. Any leftover moisture invites mold and bacteria. Open all doors and windows; sunlight is a natural disinfectant and the breeze speeds drying.
7. Re-bed and reassemble. Once fully dry, lay down a couple of inches of fresh bedding (pine shavings are a popular, absorbent choice), return the cleaned feeders and waterers, and move your flock back in. Wash your hands well afterward.
The deep litter method: less cleaning, naturally
If full clean-outs every few weeks sound like a lot, the deep litter method is the low-maintenance alternative many keepers swear by. Instead of removing bedding often, you build it up: start with a thick base of bedding, then regularly turn it and add a fresh layer on top. The droppings and bedding slowly compost in place, which suppresses odor and even generates a little warmth in winter.
With deep litter, you only do a full clean-out a couple of times a year. The trade-off is that it requires attention to work properly: turn or stir the bedding regularly, keep it dry, and watch the ammonia smell. If it ever smells sharp, the system needs more dry bedding or a turn. Done right, it’s the least labor-intensive way to keep a healthy coop — done lazily, it turns into a damp, smelly mess, so it’s a method, not an excuse to ignore the coop.
Easy habits that keep the coop clean
A few small additions make the whole job easier:
- Install a droppings board under the roosts. Chickens do most of their pooping overnight while perched, so a board catches the bulk of it — scrape it into a bucket each morning in under two minutes.
- Choose absorbent bedding. Pine shavings and sand both manage moisture well; sand can be scooped daily like cat litter.
- Prioritize ventilation. Good airflow lets humidity escape, which keeps bedding dry and ammonia down. Ventilation high up, without drafts on the roosts, is ideal.
- Keep feed sealed in metal bins to avoid attracting rodents.
- Compost the old bedding. Once broken down, it’s excellent, nutrient-rich material for the garden.
